Again a resin Gramodels kit at 1/150 scale. See my post on the Churchill ARV to see some size comparisons for Gramodels with 1/144 makes (I don't have any metal 10mm Churchills). Also see my post of a general review of the main manufacturers.
The kit costs £19.50 which is not cheap for this scale but there is a lot to it and I think it is decent value. What comes in the kit (resin unless stated otherwise):
- a hull piece;
- two track side pieces;
- the winch;
- a one piece casting for the turret (and commander);
- the ends and top boards for the bridge as a single piece;
- a big lump of metal to fit in the bottom of the hull for counter balance;
- a brass rod A frame;
- a thin brass rod 'hook' to hold the bridge up;
- etched brass girder pieces for the bridge (2 box pieces and 2 separator pieces - see below).
What you need:
- standard stuff like craft knife and super glue;
- pliers to cut the brass rods;
- small drill to fit the A frame and cables;
- some thin wire for cables;
- a base and basing materials if you are going to base it.
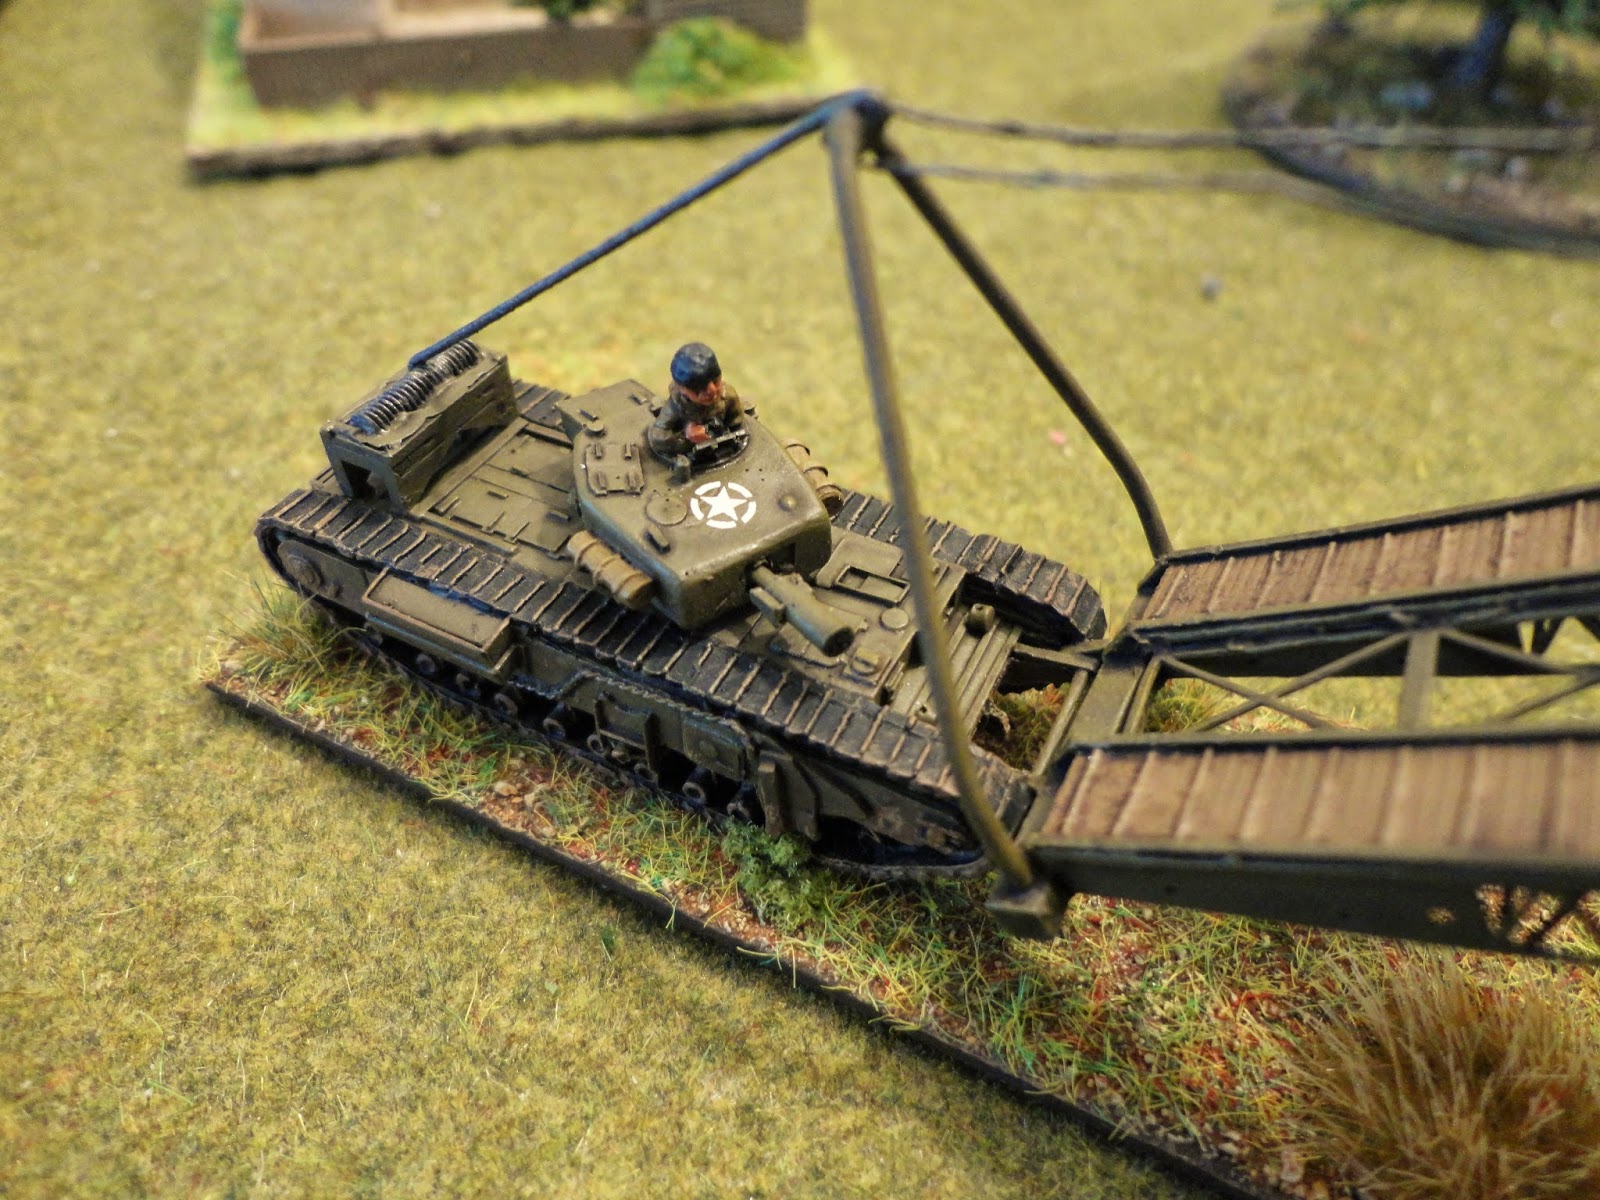
A long view to see in context of a 'battlefield' then some closer shots and a few musings as I go along. I am really pleased with how this came out - a really nice addition to my British 'funnies':


So the resin part of the bridge is the 'road' bits (brown) with the end bars. The resin is thin and able to bend in the middle to fit the bridge shape.

The box girders are etched brass and will have been two main flat pieces but when they arrive have been bent into two U shaped box girder shapes - ones goes under each of the 'road' tracks on top.
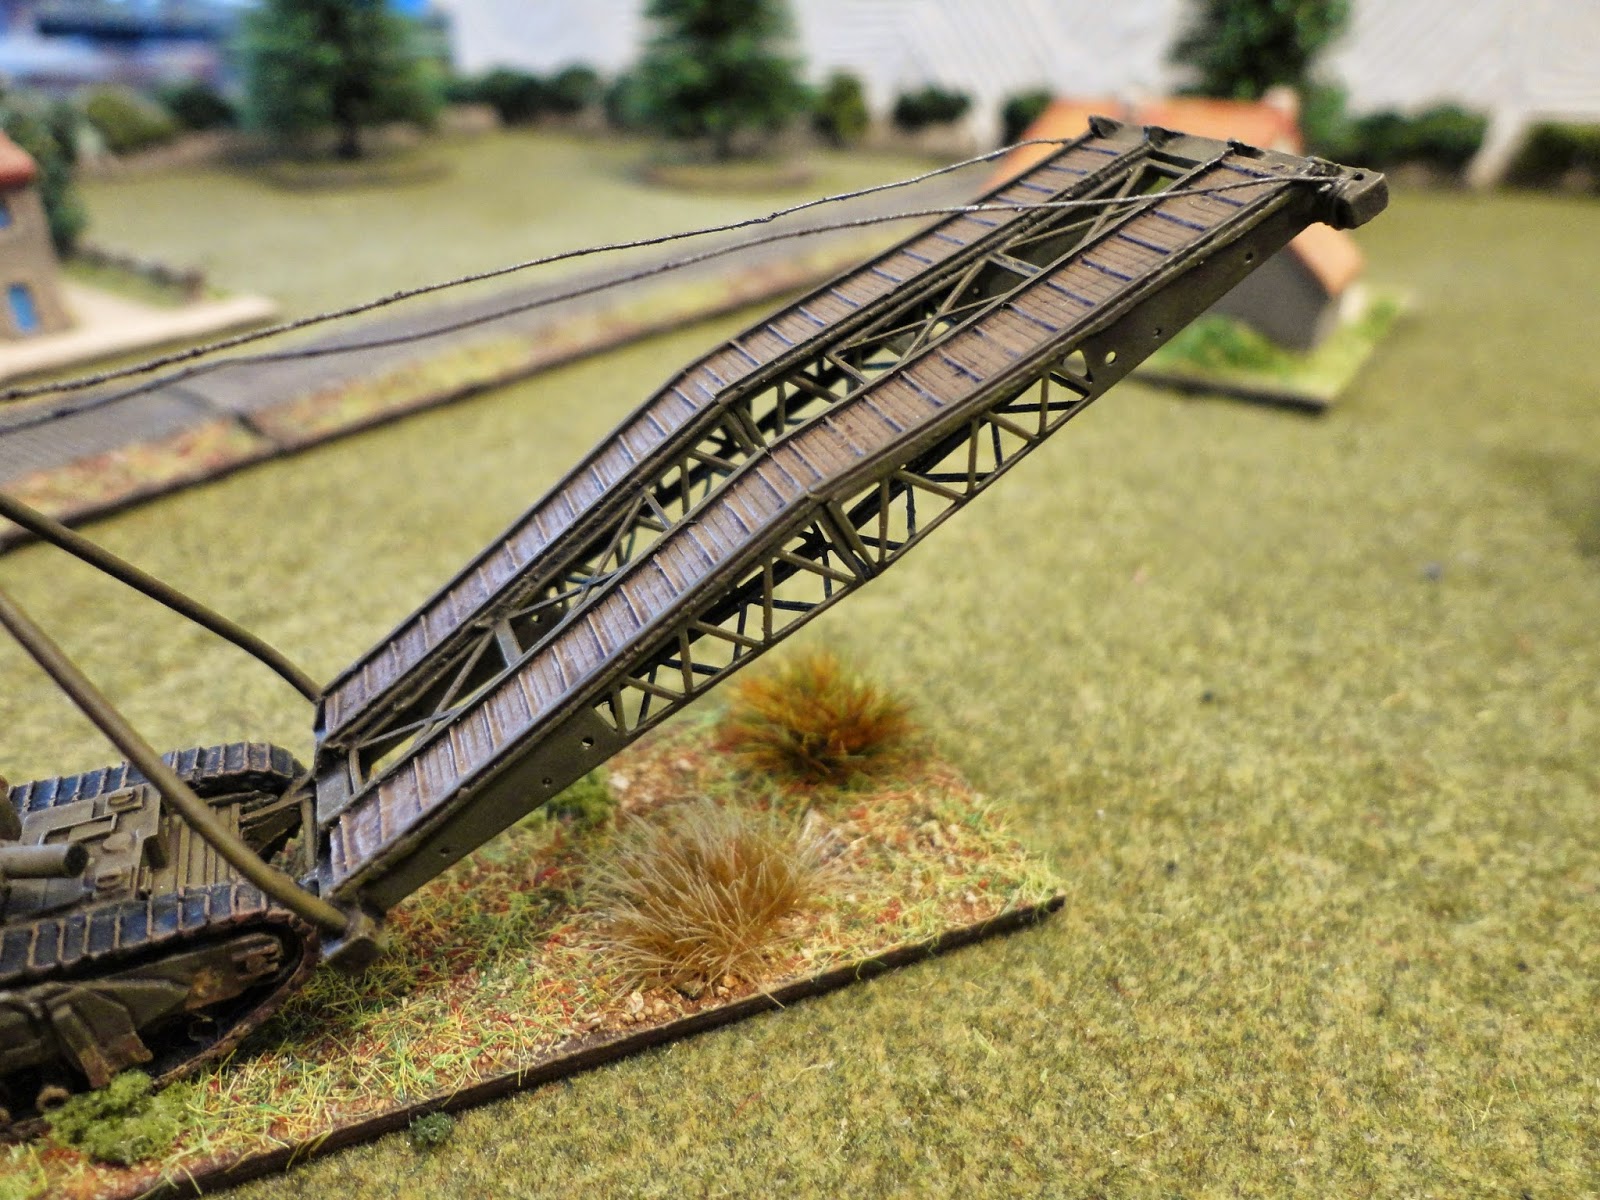
Difficult to get a good shot underneath because of shadows (and not about to put the tank in any funny positions as while pretty robust when made I don't want to risk anything!); but will give an idea of the two box girder pieces. The two other brass etched pieces go at either end between the box girders (each are two squares with cross pieces as seen below):

One end of the bridge needs to be drilled to sit in the metal A frame. And this is where I was pondering for a good few months. The kit comes with a thin brass rod that has to be cut to the length you want (i.e. the angle of the bridge you want) and one end goes into the winch (need to drill a hole) - and that is already bent at a suitable angle for the end few mm. The other end need to be bent into a hook that holds the A frame. This makes sure you have good stability for the bridge. But I was musing about whether to just use wire but in the end went with the brass rod - it is thin enough to look absolutely fine on the finished model but you only know this once it is actually on.


The bottom of the bridge is fixed to the tank as below. The model actually has two small rods sticking out for the end of the bridge to slot in. Things like this are usually cast (by Gramodels anyway) with brass rods inside but they were actually just resin and fragile - plus would need to cut or file slots in the end of the bridge. As it is a snug fit I remove the rods and just glued the bits sticking out of the end of the bridge piece into the tank.

Some thin wire is needed to use for the cables between the A frame and the ends of the bridge. You need to drill a couple of holes in the front piece of the bridge. I put the wire though and then round another couple of times and put some superglue in (you can try and tie knots but the wire can break doing that). I then glued the wire round the top of the A frame and into the other hole (i.e. one piece of wire for both sides). I did this before gluing the A frame to the tank and adding the brass rod 'hook'.
The commander is cast into the one piece turret:


For an easy way to see all my WW2 posts check out the WW2 Summary page.
very nicely modeled and painted, sir.
ReplyDelete