Monday, 25 May 2015

Tutorial on painting roofs

As I was doing a last batch of buildings for a couple of farms - all red tile - I though would be worth taking some pictures and doing a short tutorial. As I was also painting some building with grey roofs I have included those as well but they are pretty straightforward - it is just really matching how much paint to remove when dry brushing with the level of texture on the roof.

[to note I struggled a bit with the colour balance on the photos so the green terrain board keeps changing but I have tried to get it so the red or grey looks right - just in case you were wondering why I kept taking photos on a different background! Must be something to do with close up and strong colour - or just being a bit rubbish at photos!]

Red roofs

Start with a coat of Vallejo red leather (818). Not only a decent tone but also has a very matt finish too.

This is a J&R 6mm Municipal building I used for Gemioncourt:


Next a wash with Games Workshop Agrax Earthshade. Really brings out the individual tiles.

A piece of the Leven L-shaped barn from La Haye Saint:


A J&R 6mm machine shop - their range are great for white washed buildings being made of plaster. Their models don't have individual tiles showing in the way Leven do but the wash still brings out the ridge effect on the roofs.


Finally a dry brush of Vallejo light brown (929). Not too heavy as it is just to bring out the detail rather than affect the colour.

Couple of barns from Leven La Haye Sainte:


Big barn from Leven Hougoumont. The tiling on this really comes up nicely:


Grey roofs

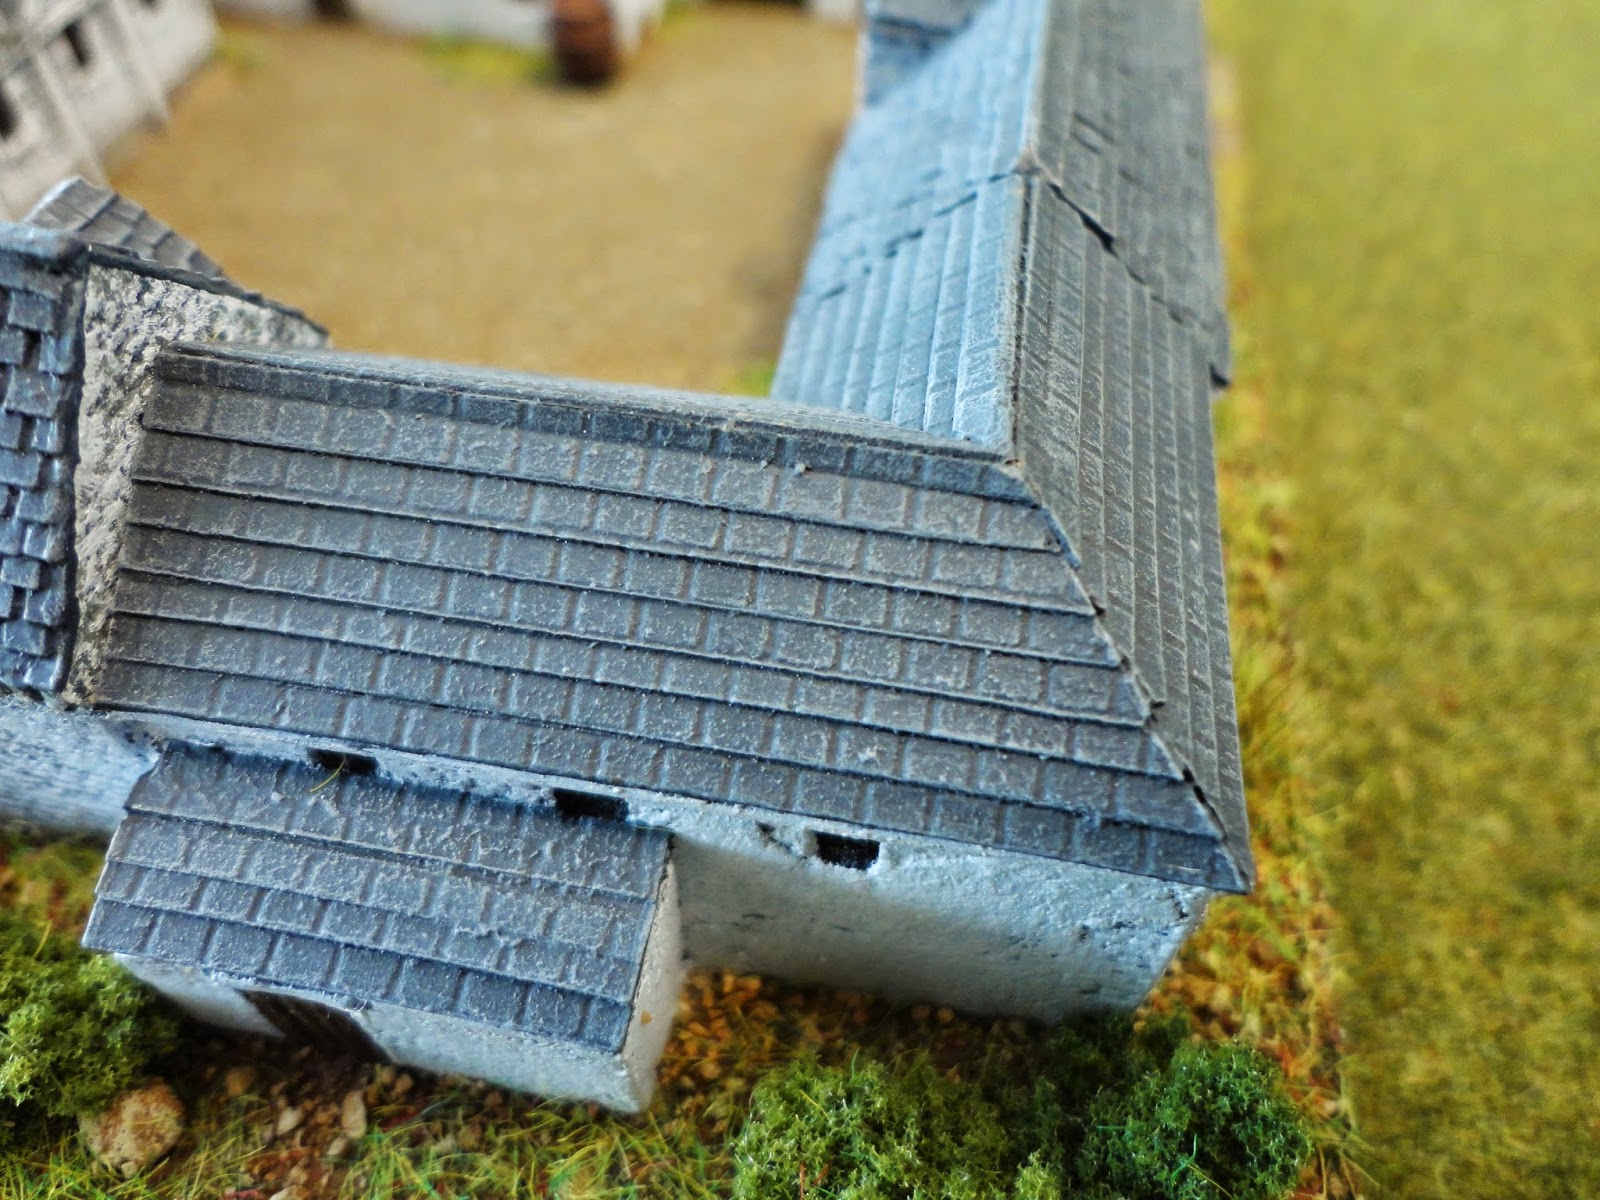
First paint Vallejo dark grey (994). As the base colour is dark I don't do a wash and rely on the two stage dry brush to bring out the detail.

First is a Leven building from Mont St Jean and the second from La Haye Saint (cut in half). I have shown both as the level of raised detail differs which affects how you dry brush.


Then a dry brush using Vallejo neutral grey (992). Reasonably heavy but depending on the level of raised detail it has to be gradually built up or can be quite heavy from the start. So the bit of the La Haye Sainte barn does not have the same amount of raised detail and the tiles are all uniform so less bits stick out to catch the paint and so you need to take most of the paint off the brush and build up with several dry brushes otherwise you just get big splodges (the technical term!) on parts of the roof.


The building from Mont Saint Jean (and another barn I got on ebay, not a main make) have very prominent tiles with an uneven (i.e. not level) finish so plenty of bits to catch the paint so you can give a much heavier dry brush from the start - still taking a lot of the paint off the brush but much less need to be as careful than a smoother roof.


Finally a dry brush of Vallejo light grey (990). Again same approach to dry brushing as for the neutral grey above.


For more examples of finished items - and generally better photos! - see the Waterloo buildings I have done so far are:

Quatre Bras
La Belle Alliance
Papelotte
La Haie (La Haye)
La Haye Sainte
Hougoumont (version 1)
Gemioncourt
Fichermont
Ferme du Caillou

and here is a more genersal tutorial for painting Waterloo farms.

Also, for an easy way to see all my Napoleonic posts check out the Napoleonic summary page.

For something a bit different check out my recently published 100th post.

Joseph Stalin III tank (JS-3 / IS-3)

While I was at my childhood home visiting family a couple of weeks ago I popped into Pendraken for a visit to see their factory unit and pick up a few things. Fascinating place and was nice to see where all the little guys come from and have a chat with Leon about what is involved.

I had seen in the new releases that the JS-3 was out and given Flames of War are bringing a Berlin book out soon I was keen to get a company. Seems probable that the JS-3 didn't actually see action but was in the victory parade and could easily have made the last few days so I will definitely be using them (and will develop rules for it if not included in the FOW book, although I note that FOW have rules for it in the Arab-Israeli section). The model looked nicely detailed when I saw the pictures on the Pendraken Forum and I was not disappointed when I got my grubby hands on them. Not done much WW2 for a while as I have had a big push on Waterloo farms but couldn't resist doing these as soon as I got back home.


This one has a couple of bits of track added to the front - these are plastic bits that come with Takara versus sets (KV1 / Panzer IV in this case). Track cut to a suitable size then glued on.


Very nice detail on the model.


The buildings are actually 6mm Time Cast Stalingrad apartment buildings, but are sufficiently generic for Berlin.


Some size comparisons below with a 1/144 Takara JS-2.

Overall in terms of general size the Pendraken model is very similar other than on height. I have pointed out in other posts that Pendraken track units/ suspension are generally lower than other models so they will always sit a bit lower than other makes.

I always base my metal models to protect them as much as anything and so I have shown the comparison with the Takara tank without base and then sat on a base. With no base the JS-3 is a bit too high compared to the JS-2, but when both on bases it is a bit too low. But the differences are slight and unless the vehicles are very close and you are looking from table level this will not be noticeable in a game.


For an easy way to see all my WW2 posts check out the WW2 Summary page.

For something a bit different check out my recently published 100th post.

Waterloo buildings part 8 - Fichermont farm

Leven just do the chateaux so I had to make up what the rest looks like with suitable Leven buildings. While there is an example on the Leven site that someone has done I wanted something different as I was still looking for a white washed effect. As I was pondering TBM brought out their Waterloo range which gave me a bit of inspiration. Took some cutting up of some of the buildings from the Leven La Haye Sainte and one of the Mont Saint Jean buildings but I am happy with the end result.

Buildings used are, starting in bottom right corner and going anti-clockwise:
  • Fichermont Chateaux (two separate buildings that fit into each other);
  • Part of the L-shape barn from La Haye Sainte, cut just after the L after the first door on that side;
  • Small house from Mont St Jean farm;
  • Rest of the La Haye Saint L-shaped barn;
  • La Haye Sainte big barn, but the lean-to has been cut off the right side and then glue on the left (so it is outside the farm);
  • Small gate which is a special request from Leven (a slightly modified version of the one that comes with Mont St Jean).


The best view of the hedges around the corner of the chateaux.


Not sure how clear it is but a close up to try and show the different effect on the chateaux - dry brushing on stone grey (Vallejo 884)  before the white and then letting some of it show through.


Chateaux looks nice all round  but the inner corner is particularly nice - also showing the Adler cannon wheel that is a feature of all my Waterloo farms.


And a PerfectSix large barrel.


A few photos with some troops in the building. For a change I have put a French battalion assuming they have just captured the place!


The Waterloo buildings I have done so far are:

Quatre Bras
La Belle Alliance
Papelotte
La Haie (La Haye)
La Haye Sainte
Hougoumont (version 1)
Gemioncourt

and here is a tutorial for painting Waterloo farms, and a tutorial for painting roofs.

Also, for an easy way to see all my Napoleonic posts check out the Napoleonic summary page.

For something a bit different check out my recently published 100th post.